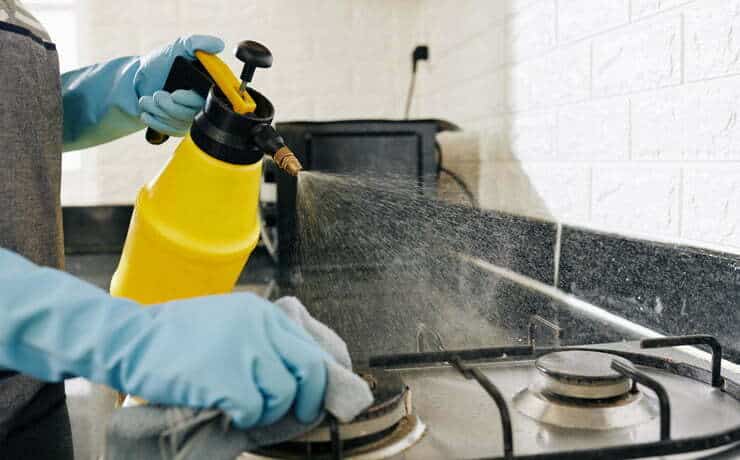
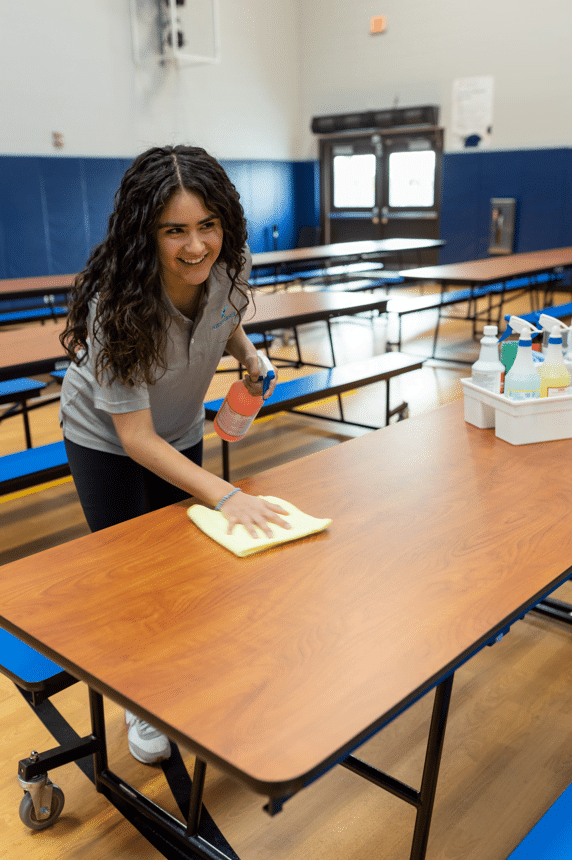
Hey there! Ever noticed how the power of a little sunshine outside your windows can make your day brighter, no question about it, at all times? Well, employing green cleaning practices like using white vinegar can do the same for your house, especially when done by a green cleaning company. Regular cleaning of your inside and outside windows is more than just about aesthetics; it’s about maintenance and preserving the integrity of your space. And with a free cloth, this task becomes easier.
Now, where should you start? It’s simple – with the basics. First off, you need to know what tools, like a blade, are essential for this task. This article addresses that question and provides maintenance tips. From squeegees to scrubbers, buckets to blades, having the right green cleaning equipment is key, as stated in this advertisement article.
But remember, it’s not just about the glass. The frames also need some love. Cleaning them regularly helps keep them in good shape.
So there you have it – a quick tip on getting started with window cleaning, no advertisement needed. Any question? Keep these green cleaning points in mind, and you’ll be on your way to sparkling windows that enhance the beauty of your home!
Pre-cleaning Steps for Windows
Before diving into the basics of window cleaning, it’s essential to understand the pre-cleaning steps. These initial actions set the stage for a successful and efficient green cleaning process.
Dust and Cobwebs Removal
First things first, deal with dust and cobwebs. They’re sneaky little devils that love to hide in corners and crevices during green cleaning. You might not notice the benefits of green cleaning at first glance, but they’re there!
- Grab a duster or a broom.
- Start from the top and work your way down.
- Pay special attention to corners and window frames.
Remember, dusting before wet cleaning prevents turning your windows into a muddy mess.
Weather Forecast Check
Secondly, don’t underestimate the power of Mother Nature! The weather can make or break your window cleaning efforts:
- Rain can wash away your hard work.
- Direct sunlight can cause streaks by making your green cleaning solution dry too fast.
So do yourself a favor – check the forecast before you start your green cleaning!
Timing is Everything
Lastly, consider what time of day you choose to clean:
- Early morning or late afternoon are usually best.
- Avoid times when the sun is directly hitting your windows.
This simple step can be a real game-changer in avoiding those pesky streaks!
Scrubbing Techniques for Glass Cleaning
Circular Motions: The Secret to Stubborn Dirt Removal
Imagine you’re at a pottery wheel, shaping clay into a beautiful vase. That same circular motion is what you need when cleaning windows. It’s not about scrubbing as hard as possible but rather about using the right technique.
Circular motions are great because they dislodge dirt and debris from the glass surface without causing any damage. You know how it feels when you’re trying to get rid of that one annoying stain on your shirt? It’s similar with glass; sometimes, the stubborn dirt just needs a little coaxing.
Using a scrubber or sponge soaked in your cleaning solution (a simple mixture of dish soap and water works wonders), start at the top corner of the window and work your way down in a spiral pattern. This method ensures every inch of the glass gets cleaned while preventing drips.
Sponge or Scrubber: Your Best Friends in Window Cleaning
A sponge or scrubber can be more effective than paper towels or rags. They hold onto the cleaning solution better, allowing it to break down dirt and grime on contact. Plus, their rough texture helps scrape away stubborn spots without scratching the glass.
Here’s how to use them:
- Dip your sponge or scrubber into your bucket of cleaning solution.
- Wring out excess liquid – remember, we don’t want to over-wet our glass!
- Start scrubbing in circular motions from top to bottom.
- Rinse and repeat until all sections of the window are clean.
Over-Wetting: Avoid At All Costs!
Over-wetting is like adding too much milk to your cereal – it ruins everything! Too much water can lead to streaks and water spots once dried, which defeats our goal of sparkling clean windows.
So how do we avoid this?
- Don’t drench your sponge or scrubber – wring it out properly before applying it on the glass.
- Use just enough dish soap in your cleaning solution – too much can create excessive suds that leave behind residue.
- After scrubbing each section of window pane, wipe off excess soap with a dry cloth before moving onto next area.
So there you have it – some basic yet essential techniques for window cleaning! Remember, practice makes perfect so don’t worry if results aren’t flawless first time round!
Indoor Window Cleaning with Squeegee
The squeegee is your best friend. It’s like a vacuum for your windows, sucking up all the grime and dust without leaving any streaks behind.
The Art of Squeegeeing
The first step in mastering indoor window cleaning is getting a firm grip on your squeegee. Hold it like you would hold a tennis racket – firm but not too tight. Start from the top left corner of the window and move it smoothly across to the right. Repeat this motion as you work your way down the window.
- Spray cleaner onto the window.
- Position your squeegee at an angle against the glass.
- Pull or push it across the surface in one continuous stroke.
- Wipe off excess water with a terrycloth rag.
Remember, practice makes perfect!
Keep Your Blade Clean
A dirty blade can leave behind streaks and residue, ruining all your hard work. So, after each stroke, make sure to wipe off your squeegee blade with a lint-free cloth or sponge soaked in white vinegar.
- Use a clean cloth after each stroke
- Wipe from top to bottom
- Rinse under warm water if necessary
This simple habit will ensure that every swipe leaves your windows sparkling clean!
Preventing Drips
No one likes mopping up puddles on their window sills or floors after cleaning windows inside their house. To prevent drips:
- Spray sparingly: A little goes a long way when using spray bottles for window cleaning.
- Control strokes: Don’t swing or flick your squeegee wildly; use controlled movements instead.
- Shield surfaces: Place an absorbent towel along the bottom edge of the window to catch any stray drops.
With these tips in mind, you’ll be well on your way to achieving perfectly clean windows without making a mess!
Window cleaning might seem like an uphill battle, especially when dealing with stubborn grime and streaks on screens and glass surfaces both inside and outside of our homes. But remember – armed with nothing more than a trusty squeegee and some elbow grease (not forgetting our handy tips), you’ve got everything you need to tackle this job head-on!
Outdoor Window Cleaning Strategy
Cleaning outside windows can be a daunting task. But with the right strategy, it becomes a breeze. Let’s dive into the basics of window cleaning.
Initial Rinsing
The first step in your outdoor window cleaning strategy is to rinse your windows using a hose. This will help remove loose dirt and debris before you start scrubbing.
- Attach a spray nozzle to your garden hose.
- Adjust the pressure to medium or high.
- Spray water on all exterior windows from top to bottom.
This initial rinsing is an essential part of green cleaning practices as it reduces the amount of cleaner needed later on.
Safety Precautions
When dealing with high windows, safety should always be your priority.
- If using ladders, ensure they are stable and secure before climbing them.
- Always have someone spot you when you’re up on a ladder.
- Long poles can help reach upper-level windows without needing ladders.
Remember, no matter how dirty your windows are, they’re not worth risking injury over!
Dealing with Tough Spots
Even after rinsing and scrubbing, some spots may still remain on your outside windows. These could be bird droppings or tree sap – substances which are stubborn and hard to remove.
Here’s what you can do:
- Soak a cloth in vinegar and dab it on the spot.
- Leave for about 10 minutes then scrub off gently with a soft brush.
- Rinse thoroughly with clean water.
These methods align well with green cleaning practices because vinegar is non-toxic and eco-friendly! It’s just one way that being environmentally conscious doesn’t mean compromising on quality – something any good green cleaning company knows well!
So there you have it: A simple yet effective strategy for outdoor window cleaning that keeps safety in mind while also adhering to green principles! Now get out there and make those outside windows sparkle!
Tips for Effective Window Washing
Distilled Water for Clean Windows
Ever noticed those annoying white spots on your windows after a thorough clean? Those are mineral deposits, and they can be a real pain. But there’s an easy fix: distilled water. Unlike tap water, distilled water is free of minerals that leave behind residue.
- Less Cleaning Required: With no mineral deposits left on your windows, you won’t have to clean as frequently.
- Better Visibility: No white spots means cleaner windows and better views.
So next time you’re ready to wash your windows, reach for the distilled water. Your windows will thank you.
The Magic of Vinegar and Dish Soap
Now let’s add some vinegar or dish soap into the mix. Either of these common household items can take your window cleaning game to the next level.
- Vinegar: Its acidic nature breaks down dirt and grime without leaving streaks.
- Dish Soap: It cuts through grease and leaves windows sparkling clean.
Just remember not to go overboard – a little goes a long way!
Quick Drying to Avoid Streaks
Finally, don’t forget about drying those windows quickly! Why? To avoid streaks, my friend. Excess water that lingers on glass surfaces often leaves behind unsightly streaks as it dries.
Here’s what you can do:
- Use a squeegee: This tool effectively removes excess water from the glass surface.
- Microfiber cloths: They absorb water quickly without leaving lint behind.
Remember, speed is key here! The faster you dry your windows after washing them, the less likely you’ll end up with streaky results.
With these tips in hand, mastering the basics of window cleaning should be a breeze. Happy cleaning!
Common Mistakes in Window Cleaning
Neglecting the Window Frames
First off, let’s talk about window frames. They’re like the unsung heroes of your windows, often overlooked but crucial to their overall look and function. It’s a common mistake to ignore them during the cleaning process, but it can lead to grime build-up and even damage over time.
Think about it – you wouldn’t wash only half your car or just the middle of your dishes, right? The same concept applies here. Windows are more than just glass; they include frames too.
Here’s what you should do:
- Start by dusting off loose dirt and debris.
- Use a soft brush attachment on a vacuum for stubborn dirt.
- Wipe down with a damp cloth soaked in mild soapy water.
- Dry thoroughly to prevent water stains.
Using Paper Towels
Next up on our list is the paper towel fiasco. You might think they’re handy-dandy for leaving your windows squeaky clean, but guess what? They leave behind lint residue that can make your glass look foggy or streaky.
Instead of paper towels, consider these alternatives:
- Microfiber cloths: Super absorbent and lint-free.
- Squeegees: Great for large windows and leaves no residue.
- Newspaper: Sounds old school but works like magic!
Remember though, whatever tool you use should be clean and free from previous cleaning solutions or dirt.
Ignoring Safety Measures
Last but definitely not least is safety – because no window is worth risking life and limb over! It’s easy to forget about safety when you’re focused on getting those windows sparkling clean. But accidents happen – especially when working at heights.
Here are some safety tips:
- Always use sturdy ladders with anti-slip feet.
- Never lean out of a window while cleaning outside panes.
- Consider using telescopic poles for high windows instead of climbing ladders.
- If possible, hire professionals for high-rise buildings or hard-to-reach areas.
In essence, window cleaning isn’t rocket science folks! Avoid these common mistakes and you’ll be well on your way to clearer views and cleaner windows without any unnecessary risks or hassles!
Wrapping Up on Window Cleaning
Alright, you’ve made it this far! We’ve gone through the whole shebang – pre-cleaning steps, scrubbing techniques, indoor and outdoor cleaning strategies, handy tips, and common blunders. Now that you’re armed with all this knowledge, your windows won’t know what hit ’em! So go ahead, roll up those sleeves and let your windows shine like they never have before.
Remember though, Rome wasn’t built in a day. It might take a few tries to get it just right but don’t sweat it. Practice makes perfect after all! And hey, if things get too tricky or you simply can’t spare the time – there’s no shame in calling in the pros. They’ll have your windows sparkling in no time!
FAQS
What tools do I need for window cleaning?
You’ll need a bucket of soapy water, a sponge or scrubber to apply the solution onto the glass surface and a squeegee to remove it.
Can I use vinegar for window cleaning?
Absolutely! Vinegar is an excellent natural cleaner that leaves your windows streak-free.
Is newspaper good for window cleaning?
Newspaper can work wonders on glass surfaces as it doesn’t leave lint behind like paper towels.
How often should I clean my windows?
That depends on where you live. If you’re in a city full of dust and pollution, once every two months is ideal. For less polluted areas – twice a year should suffice.
Do professional cleaners use special products?
Yes and no. While some professionals may use commercial-grade products, many simply use dish soap because of its effectiveness and affordability.